Materials:
For this lab you will need...
- Distilled water
- Four lab beakers- 400ml
- Two beakers filled with distilled ice water, one with room temperature distilled water, and one with boiling distilled water.
- Two digital thermometers
- One blank thermometer
- One piece white plastic
- Tape
- One hot plate
- One black permanent marker
Procedure:
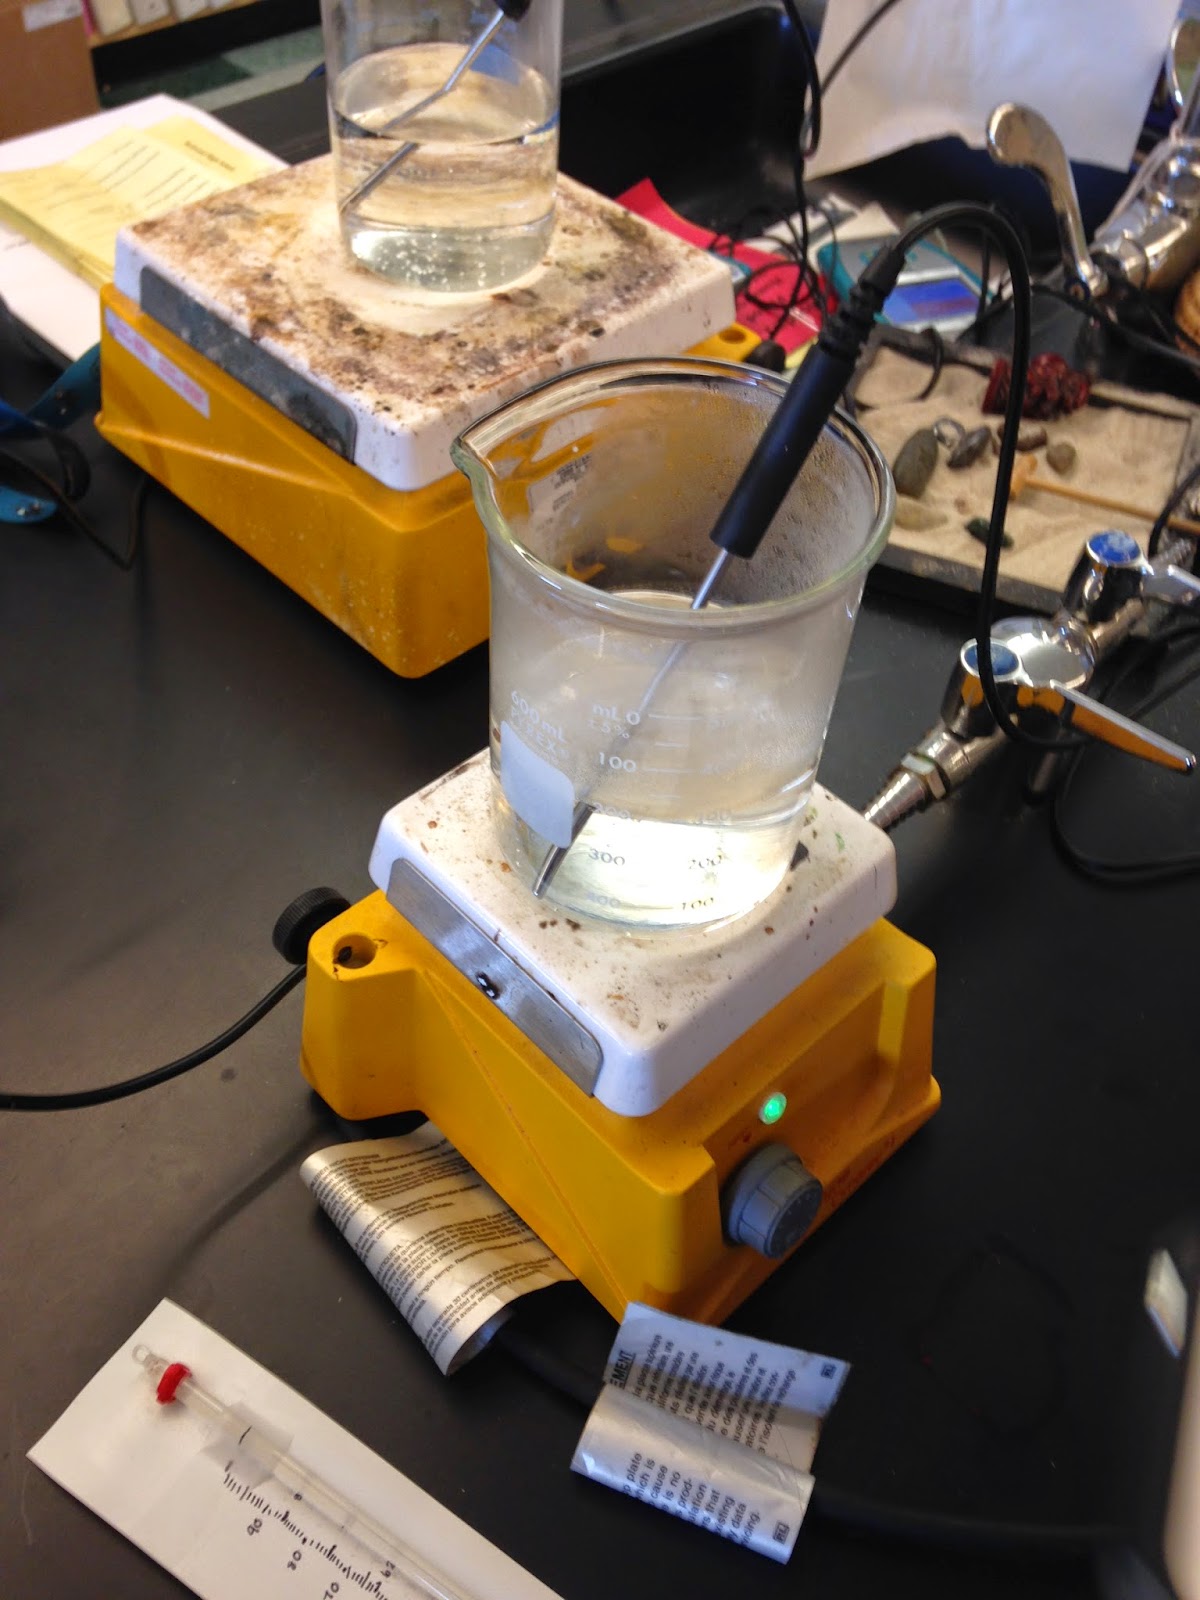
Step 1: Turn on the hot plate and put one beaker of distilled water on it. Wait for the water to boil while you do step 2.

Step 2: Put the blank thermometer in the beaker of ice water. Wait until the level of the alcohol or mercury stops dropping and then make a mark there with the black marker on your thermometer. This mark will serve as your 0°C. 0° is the freezing point of water. This is the lowest your thermometer will go for this lab.

Step 3: Now put the blank thermometer into the boiling water on the hot plate. Wait until the liquid in the thermometer stops climbing higher. Make a mark at the highest point the liquid reaches. This value will serve as 100°C. 100° is the boiling point of water. This is the highest your thermometer will go for this lab.
Step 4: Measure the distance between the two marks. Divide that distance by two to find 50°C, the mid point between the two marks you have already made. Continue to do this for all of your values. We measured to every nearest 1 degree, which is the most precise, however it is possible to measure by every 5 or more degrees.
 Step 5: After you have finished marking your thermometer, test how precise and accurate you were. To do this, put two digital thermometers in beakers, one to each beaker. Then use your own thermometer to test how close your thermometer is to the digital ones. To do so, tape your white plastic to your thermometer so that you can see each degree measure. Record your temperatures and the temperatures from the digital thermometers.


Step 6: Calculate your percent error by using the formula:

Step 6: Calculate your percent error by using the formula:
Step 7: Clean up!
Extension:
- How could you apply what you learned in this lab to creating another measurement tool? It is entirely possible to apply what we learned in this lab to creating another measurement tool. For example, if our task had been to calibrate a balance, we could by measuring known weights and then calculating or percent error against an electronic balance.
- Why was distilled water used to calibrate this thermometer instead of another substance? Because distilled water has a boiling point of 100° and a freezing point of 0° which allowed us to make the first marks on our thermometer. Testing another substance that has different boiling and freezing points may become too complicated and the percent error could be much higher.
- Identify three sources of error in this lab and describe how each error contributed to decreasing the accuracy of your thermometer. The first source of error in this lab would be our marking of 0° and 100°. We tired to be as accurate as possible when making the marks but it is possible that we were off, creating an error in our measurement. The second possible source of error would be in our marking of the rest of the values on our thermometer. We marked every 1° and it was difficult to get the exact distance correct in-between each degree. The third source of error could have occurred when we taped our white plastic to the thermometer. We tried to match it up with the marks on our thermometer the best that we could, however it is completely possible that we were slightly off.
- Describe why you chose the level of precision that you used for your thermometer. We measured to every 1° because we wanted the challenge of measuring out every degree, and we also know that measuring by every 1° could lower our percent error.
No comments:
Post a Comment